# MockAddress Core: Frontend Address & MAC Test Data Engine (Open Source Core)
> This repository contains the open-source **frontend core engine** of MockAddress, for generating authentic-format test addresses and MAC address data across multiple countries/regions.
> Full production site:
## Project Overview
MockAddress Core is a **pure frontend, zero backend dependency** test data engine designed for developers and QA engineers, providing:
- **Authentic-format address data** conforming to official postal standards (verifiable on Google Maps / Apple Maps)
- Optional **identity fields + credit card fields** (for form/payment flow testing only)
- **MAC address generation + vendor lookup + IPv6 Link-Local derivation** and other network test data
All core logic runs entirely in the browser and can be deployed to any static hosting environment (GitHub Pages, Cloudflare Pages, Vercel, etc.).
> **Note**: This repository only open-sources the **engine and base styles**.
> Large-scale address datasets and production site page templates remain MockAddress private assets for online services.
---
## Key Features
- **Multi-Country/Region Address Generation (Engine Support)**
- Supports generating address structures conforming to local postal standards for multiple countries/regions
- Address fields include complete information: street, city, state/province, postal code, country, etc.
- Can be extended with localized fields based on country (e.g., Japanese address hierarchy, Hong Kong bilingual addresses)
- **Authentic Format & Verifiable**
- Address data is based on official postal/statistical data + OpenStreetMap and other public data sources, cleaned and organized
- Generated results are designed to be **verifiable on Google Maps / Apple Maps and other mapping services**
- Suitable for registration forms, payment pages, tax calculation logic, and other scenarios requiring strict address format validation
- **Optional Identity & Credit Card Fields (Testing Only)**
- Optionally generate name, gender, date of birth, occupation, localized ID number formats, etc.
- Optionally generate credit card numbers (Luhn-validated), expiration date, CVC, and other fields
- All identity/card data is **randomly generated and does not correspond to any real individuals or real cards**
- **Batch Export & Automation-Friendly**
- Built-in CSV / JSON export capabilities
- Suitable for automated testing, regression testing, CI/CD pipelines for bulk test data injection
- **MAC Tools**
- Generate MAC addresses in multiple formats (colon, hyphen, dot, no separator, etc.)
- Vendor identification based on OUI dataset
- Support for deriving IPv6 Link-Local addresses from MAC addresses
- All logic runs locally in the browser, suitable for network testing, device simulation, and script development
- **Pure Frontend, Privacy-First**
- No backend service dependency, all logic completed in frontend JS
- Optionally save generated results to browser `localStorage`, servers do not store any generated data
---
## Repository Structure
```text
src/
js/
address-generator.js # Address/identity/credit card generation engine
mac-generator.js # MAC generation and vendor lookup
storage.js # Storage, rate limiting, export utilities
language-switcher.js # Multi-language routing and internal link rewriting
utils.js # General utility functions
css/
main.css # Universal dark theme and base UI component styles
README.md # Project documentation (this file)
LICENSE # Open source license (MIT recommended)
CONTRIBUTING.md # Contribution guidelines (optional)
ROADMAP.md # Roadmap (optional)
```
> **Reminder**: **This repository does not include production site HTML files or large-scale data files `data/*.json`**.
> These are used for online deployment and are not part of this open-source release.
---
## Usage
### Quick Start
**Option 1: Direct Use (if your data directory is `data/`)**
```html
```
**Option 2: Custom Data Path (Recommended)**
```html
```
### Configuration Options
- **`dataBasePath`**: Base path for your data files (e.g., `'my-data/'`, `'/static/data/'`)
- **`autoDetectPaths`**: Whether to enable automatic path detection (default `true`, suitable for mockaddress.com's multi-language structure)
> **Important**: If you don't call `configure()`, the code will use default behavior, **completely unaffected by mockaddress.com's normal operation**.
### Available Functions
- `generateUSAddress(state)` - US addresses
- `generateHKAddress(region, isEnglish)` - Hong Kong addresses
- `generateUKAddress(region)` - UK addresses
- `generateCAAddress(province)` - Canada addresses
- `generateJPAddress(prefecture)` - Japan addresses
- `generateINAddress(state)` - India addresses
- `generateTWAddress(county)` - Taiwan addresses
- `generateSGAddress(state)` - Singapore addresses
- `generateDEAddress(state)` - Germany addresses
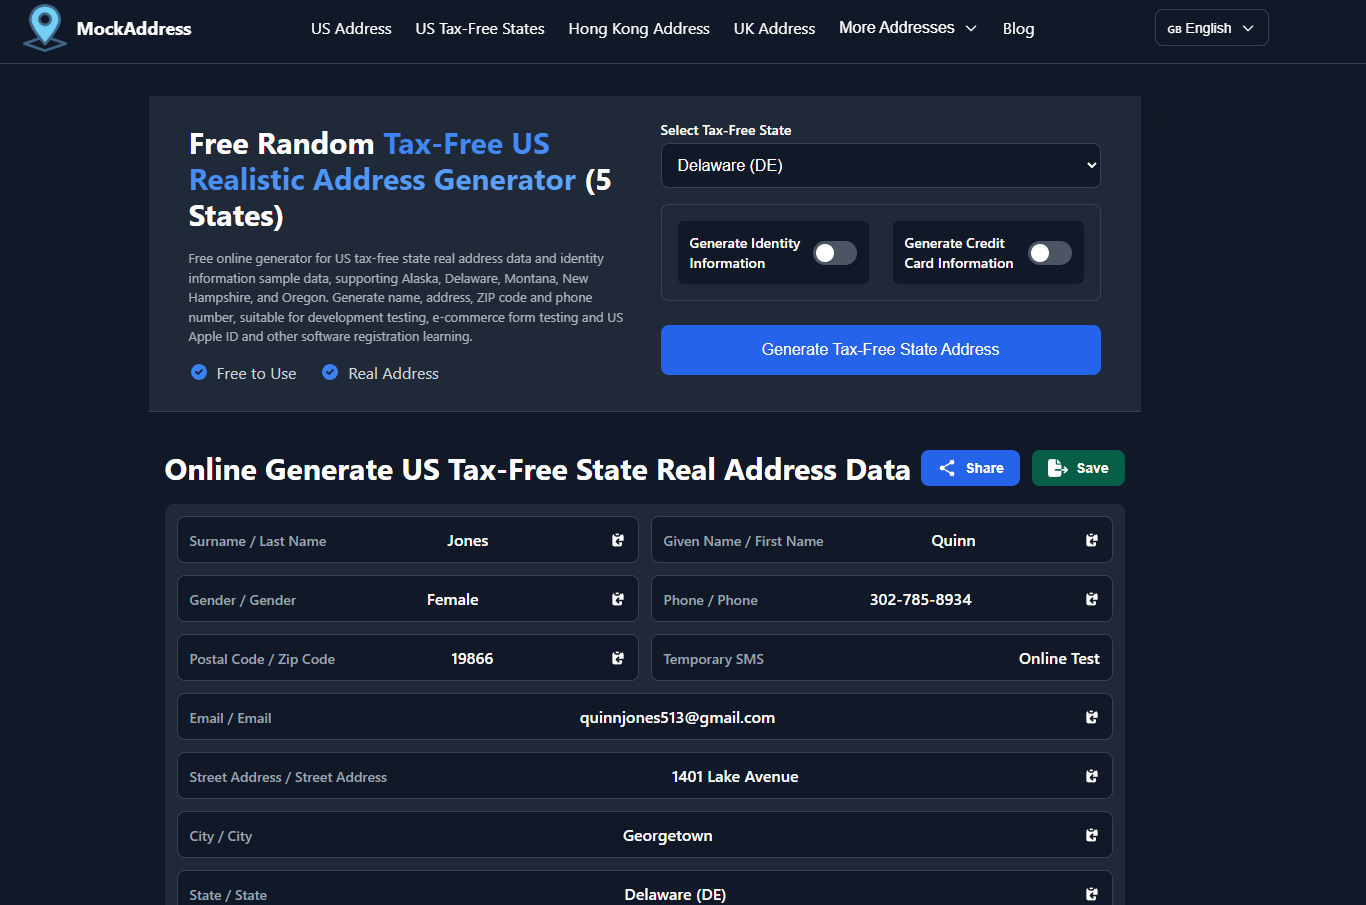
- `generateTaxFreeAddress(state)` - US tax-free state addresses
- `generateIdentityInfo(address)` - Identity information
- `generateCreditCardInfo()` - Credit card information (testing only)
For detailed usage instructions, see [`使用说明.md`](./使用说明.md) (Usage Guide in Chinese).
You can also refer to our production site to see real-world usage scenarios and UI design, then customize as needed in your own project.
---
## Deployment Examples: Cloudflare & VPS (Static Hosting)
> The following steps are for developers who want to deploy mockaddress-core themselves, describing only the simplest path for README purposes.
### Deploy with Cloudflare Pages (Recommended for Frontend / Zero Ops Cost Scenarios)
1. Create a repository on GitHub (e.g., `mockaddress-core`), push this project's code to it.
2. Log in to Cloudflare, go to **Pages**, select "Create a project with Git provider", and bind this repository.
3. Build settings:
- Framework preset: **None / Static Site**
- Build command: Leave empty (or `npm run build` if you add a build process later)
- Output directory: Set to project root (or your build output directory)
4. After deployment, ensure:
- All JS/CSS load correctly via `
```
**Option 2: Custom Data Path (Recommended)**
```html
```
### Configuration Options
- **`dataBasePath`**: Base path for your data files (e.g., `'my-data/'`, `'/static/data/'`)
- **`autoDetectPaths`**: Whether to enable automatic path detection (default `true`, suitable for mockaddress.com's multi-language structure)
> **Important**: If you don't call `configure()`, the code will use default behavior, **completely unaffected by mockaddress.com's normal operation**.
### Available Functions
- `generateUSAddress(state)` - US addresses
- `generateHKAddress(region, isEnglish)` - Hong Kong addresses
- `generateUKAddress(region)` - UK addresses
- `generateCAAddress(province)` - Canada addresses
- `generateJPAddress(prefecture)` - Japan addresses
- `generateINAddress(state)` - India addresses
- `generateTWAddress(county)` - Taiwan addresses
- `generateSGAddress(state)` - Singapore addresses
- `generateDEAddress(state)` - Germany addresses
- `generateTaxFreeAddress(state)` - US tax-free state addresses
- `generateIdentityInfo(address)` - Identity information
- `generateCreditCardInfo()` - Credit card information (testing only)
For detailed usage instructions, see [`使用说明.md`](./使用说明.md) (Usage Guide in Chinese).
You can also refer to our production site to see real-world usage scenarios and UI design, then customize as needed in your own project.
---
## Deployment Examples: Cloudflare & VPS (Static Hosting)
> The following steps are for developers who want to deploy mockaddress-core themselves, describing only the simplest path for README purposes.
### Deploy with Cloudflare Pages (Recommended for Frontend / Zero Ops Cost Scenarios)
1. Create a repository on GitHub (e.g., `mockaddress-core`), push this project's code to it.
2. Log in to Cloudflare, go to **Pages**, select "Create a project with Git provider", and bind this repository.
3. Build settings:
- Framework preset: **None / Static Site**
- Build command: Leave empty (or `npm run build` if you add a build process later)
- Output directory: Set to project root (or your build output directory)
4. After deployment, ensure:
- All JS/CSS load correctly via `